1.Introduction to WordPress:
Are you looking to build a WordPress website but don’t know where to start? You’re in the right place! This Complete WordPress Tutorial for Beginners (Step-by-Step Guide) will walk you through everything you need to know to create, customize, and manage your website — even if you have zero coding experience.
In this guide, we cover all the essentials: from installing WordPress and exploring the WordPress dashboard to creating pages and posts, adding images and media, installing WordPress plugins, and customizing themes to make your site look professional. By the end of this tutorial, you’ll confidently know how to use WordPress to launch a fully functional website, whether it’s a personal blog, business site, or online portfolio.
2.What is WordPress?
WordPress is a free and open-source content management system (CMS) that allows anyone to create and manage websites easily. With WordPress, you don’t need to know coding or programming to build professional websites, blogs, or online stores.
WordPress is becoming the most popular choice for bloggers, freelancers, and small businesses because it is easy to use, cost-effective and supported by a large global community. Whether you want to create a personal blog, showcase your portfolio, or start an online store, WordPress gives you all the tools you need.
3. WordPress.com vs WordPress.org
When starting with WordPress, it’s important to understand the difference between WordPress.com and WordPress.org. Both allow you to create a website, but they work differently.
Difference Between the Two
| Feature | WordPress.com | WordPress.org |
|---|---|---|
| Hosting | Included (no need to buy separately) | You need to buy hosting yourself |
| Domain | Free subdomain (example.wordpress.com) or paid custom domain | Full control with your own domain (example.com) |
| Customization | Limited themes and plugins | Full access to all themes and plugins |
| Monetization | Limited options | Full control, can earn from ads, eCommerce, memberships |
| Cost | Free or paid plans | Hosting and domain cost (usually affordable) |
In short: WordPress.com is easier to start but comes with limitations, while WordPress.org gives you full control and flexibility.
Which One Beginners Should Choose
For beginners in Nepal or anywhere else who want to build a professional website or blog, WordPress.org is usually the better choice. It allows you to:
- Fully customize your website
- Install any theme or plugin
- Monetize your website freely
- Scale your website as your business grows
WordPress.com can be good for hobby blogs or testing purposes, but if your goal is to create a real website for business, freelancing, or blogging professionally, WordPress.org is recommended.
💡 Tip for Nepal readers:
You can buy domain and hosting from local providers in Nepal, like Babal Host or Web Host Nepal.
4. Domain Name and Web Hosting
What is Domain Name?
A domain name is the address of your website on the internet. Think of it as the “home address” where people can find your website. For example, www.example.com is a domain name. It replaces long and complicated IP addresses (like 192.168.1.1) with something easy to remember.
Key points about domain names:
- Every website needs a unique domain name.
- Domain extensions (TLDs) like
.com,.net,.org,.eduindicate the type or purpose of the website. - Some country-specific extensions like
.npfor Nepal or.ukfor the United Kingdom are also available.
What is Web Hosting?
Web hosting is a service that stores your website files on a server so that people can access your website online. Without hosting, your website cannot be seen on the internet.
Types of Web Hosting:
- Shared Hosting – Affordable, multiple websites share the same server. Best for beginners.
- VPS Hosting – Virtual private server, better performance, more control.
- Dedicated Hosting – Entire server dedicated to your website. Expensive, used for large websites.
- Cloud Hosting – Scalable and reliable, your website can grow without downtime.
Popular Hosting Providers (Global):
- Bluehost
- SiteGround
- HostGator
- DreamHost
- Web host Nepal
.
How to Choose a Good Domain Name
Picking the right domain name is crucial because it represents your brand and makes it easy for people to remember your website.
Tips for a Good Domain Name:
- Keep it short and simple – Short names are easier to type and remember.
- Make it brandable – Unique and memorable names work best.
- Use keywords (optional) – Include words related to your niche for SEO benefits. Niche means ( broad topic :Health then your niche is Healthy diet plans,Weight loss,Yoga for beginners).
- Avoid numbers and hyphens – They make typing and remembering harder. Hyphens means (-)
- Choose the right extension –
.comis popular globally;.com.npis preferred for Nepal-based sites.
Example of friendly domain name:
- Good:
nepaltravel.com - Bad:
nepal-travel123.com
How to Buy Web Hosting
Buying web hosting involves a few simple steps:
- Choose a Hosting Provider: Decide whether you want a global provider or a local Nepal provider based on pricing, support, and speed.
- Select a Hosting Plan: For WordPress beginners, a shared hosting plan is usually sufficient. (“A hosting plan is a service you buy from a web hosting company that stores your website files on a server so people can access your website on the internet“).
- Register Your Domain: Most hosting providers allow you to register your domain during hosting signup. If you already have a domain, you can point it to your hosting account.
- Make Payment: Payments can usually be made via credit/debit card, PayPal (for global providers), or local payment methods in Nepal (eSewa, Khalti, bank transfer).
- Install WordPress: Most hosting services offer one-click WordPress installation for beginners.
For more information, Read my blog on how to choose a domain name and web hosting.
5. How to Install WordPress
Once you have your domain name and web hosting, the next step is to install WordPress, the platform that will power your website. WordPress is beginner-friendly, and most hosting providers make installation very easy.
Installing WordPress from Hosting
There are two main ways to install WordPress on your hosting account:
1. Using cPanel with Auto-Installer
Most hosting providers offer cPanel, a web-based control panel, with an auto-installer like Softaculous or Fantastico. This is the easiest method for beginners.
Step-by-Step Guide:
- Login to cPanel: Your hosting provider sends cPanel login credentials after you purchase hosting.
- Find WordPress Installer: Look for Softaculous Apps Installer → click WordPress.
- Start Installation: Click Install Now.
- Fill in Site Details:
- Site Name: The name of your website (e.g., “My Travel Blog”)
- Site Description: A short description (optional, can be changed later)
- Admin Username: Create a unique username (avoid “admin” for security)
- Password: Use a strong password
- Email: Admin email address for notifications and password recovery
- Choose Domain: Select the domain where you want to install WordPress.
- Select Plugins & Theme (optional): Some installers allow you to install default themes and plugins.
- Install: Click Install, and within a few minutes, WordPress will be ready.
After installation, you’ll see a URL like:
www.yourdomain.com/wp-admin
This is where you’ll log in to your WordPress dashboard.
2. Manual Installation (Advanced)
Manual installation involves uploading WordPress files via FTP and creating a database in cPanel. This method is rarely needed for beginners but gives more control.
Steps:
- Download WordPress from wordpress.org.
- Upload files to your hosting account using File Manager or FTP client.
- Create a MySQL database in cPanel.
- Rename
wp-config-sample.phptowp-config.phpand add your database info. - Visit your domain and follow the installation wizard.
Tip for beginners: Stick to the auto-installer unless you are comfortable with databases and FTP.
6. WordPress Dashboard Overview
After installing WordPress, the first place you will interact with is the WordPress Dashboard. It’s your control center for managing your website, where you can create content, customize your site, install plugins, and configure settings.

Let’s break down the main sections of the WordPress dashboard:
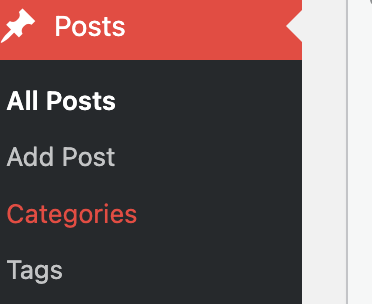
1. Posts
A post in WordPress is a blog article or content entry that you publish on your website.
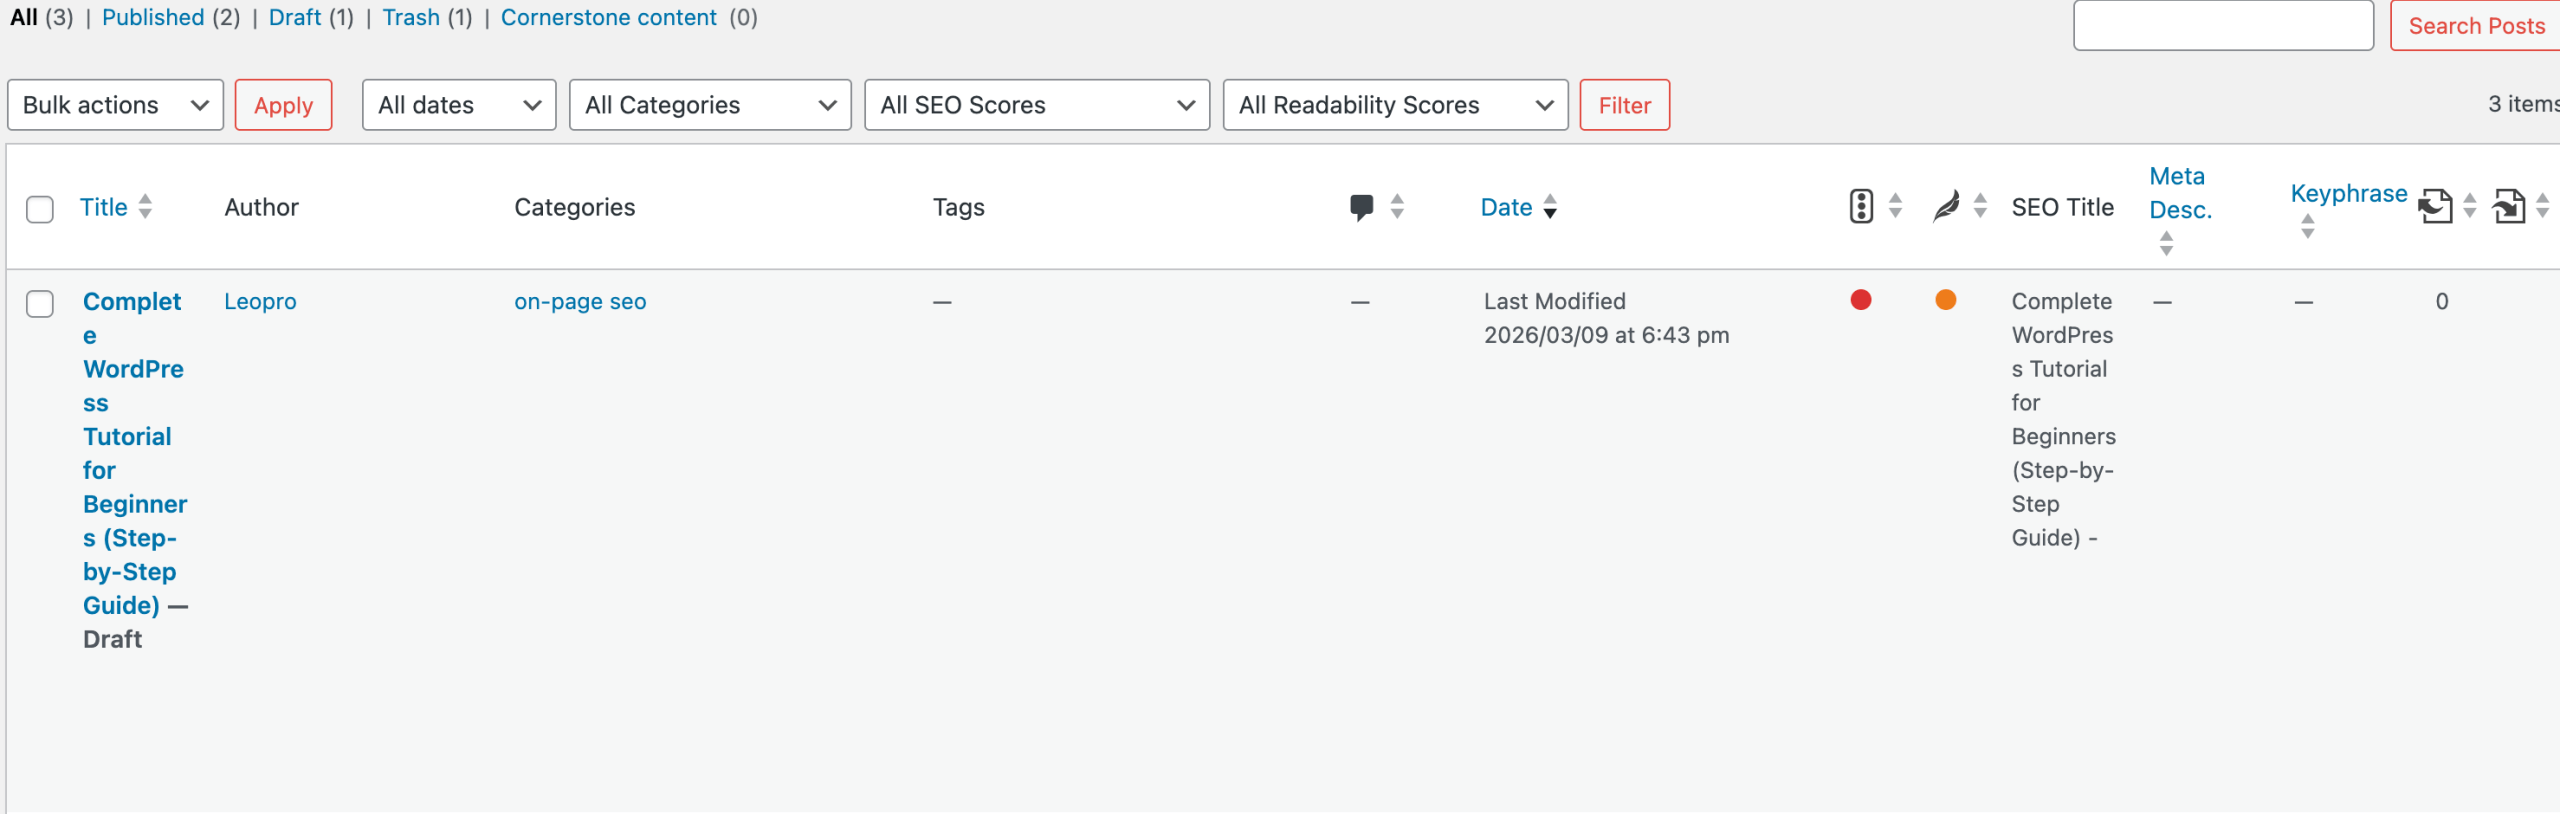
All Posts:
The All Posts section shows a list of all the blog posts on your website. From here, you can view, edit, or delete posts and manage your content easily.
Add Posts:
The Add New option lets you create a new blog post. You can add a title, write your content, insert images, choose categories and tags, and then click Publish to make the post live.
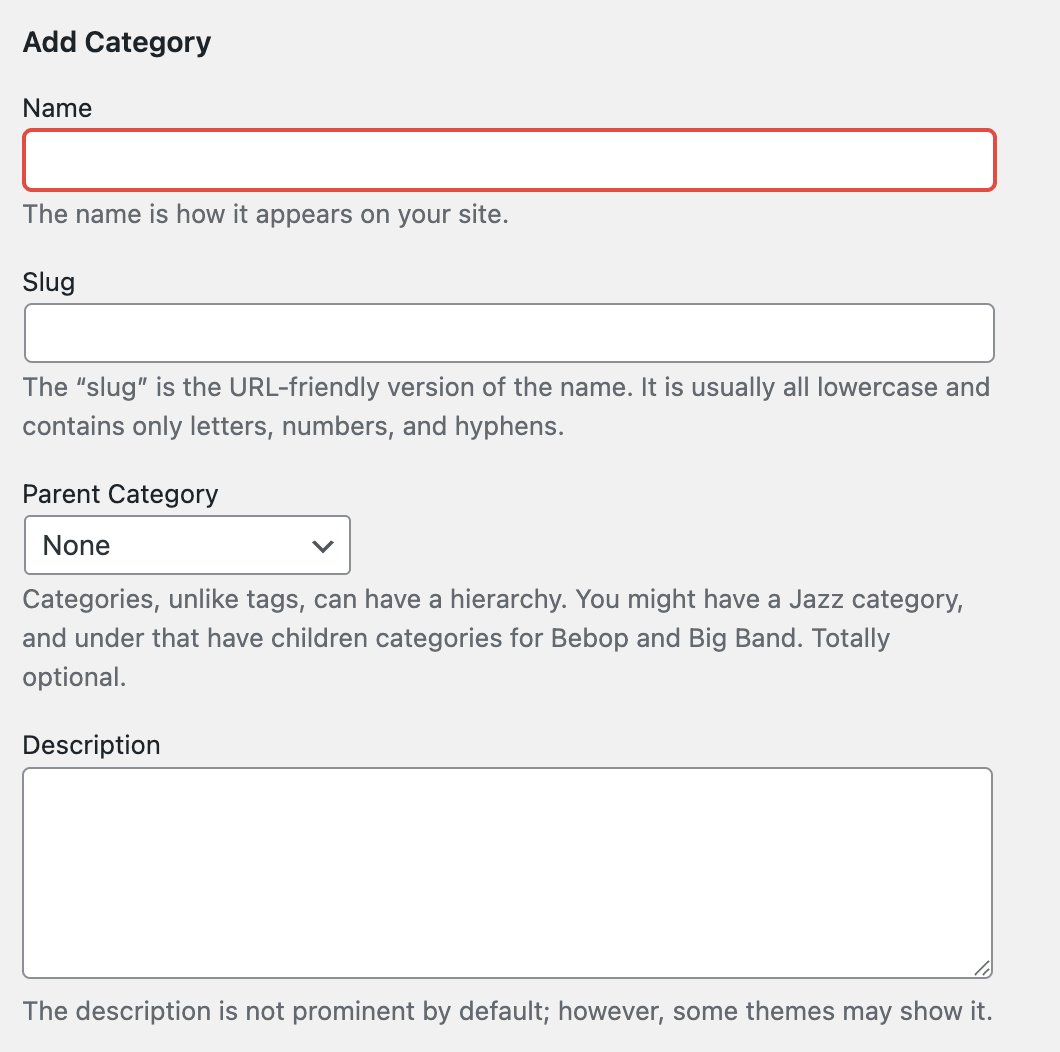
Categories:
Categories help organize your posts into different sections, making it easier for visitors to find related content on your website. They act like main topics that group similar blog posts together.
For example, on a WordPress tutorial website, you might have categories like WordPress Basics, Plugins, Themes, and SEO. Using categories properly helps improve website navigation and also helps search engines understand your content better.
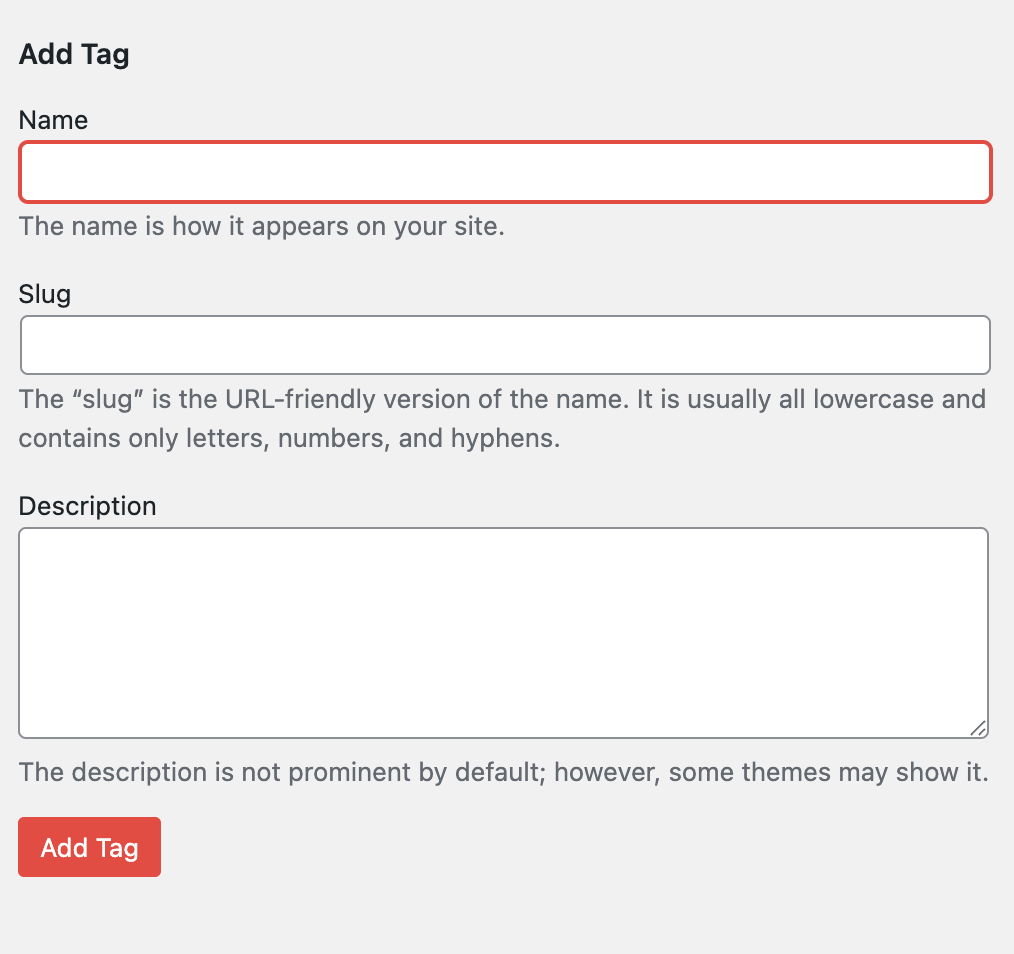
Tags:
Tags are used to describe specific details of your blog post and help organize content more precisely. Unlike categories, which group posts into broad topics, tags highlight important keywords related to the post.
For example, if your category is WordPress Tutorials, your tags could be WordPress plugins, WordPress themes, WordPress dashboard, or beginner guide. Using tags helps visitors find related posts easily and improves the overall navigation of your website.
2. Pages
Pages in WordPress are used to create important and permanent sections of your website. Unlike posts, pages are not organized by categories or tags and are usually used for static content that does not change often.
Common examples of WordPress pages include Home, About Us, Contact, Privacy Policy, and Services. Pages help structure your website and provide essential information to visitors in a clear and organized way.
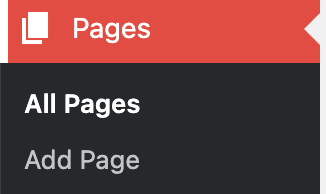
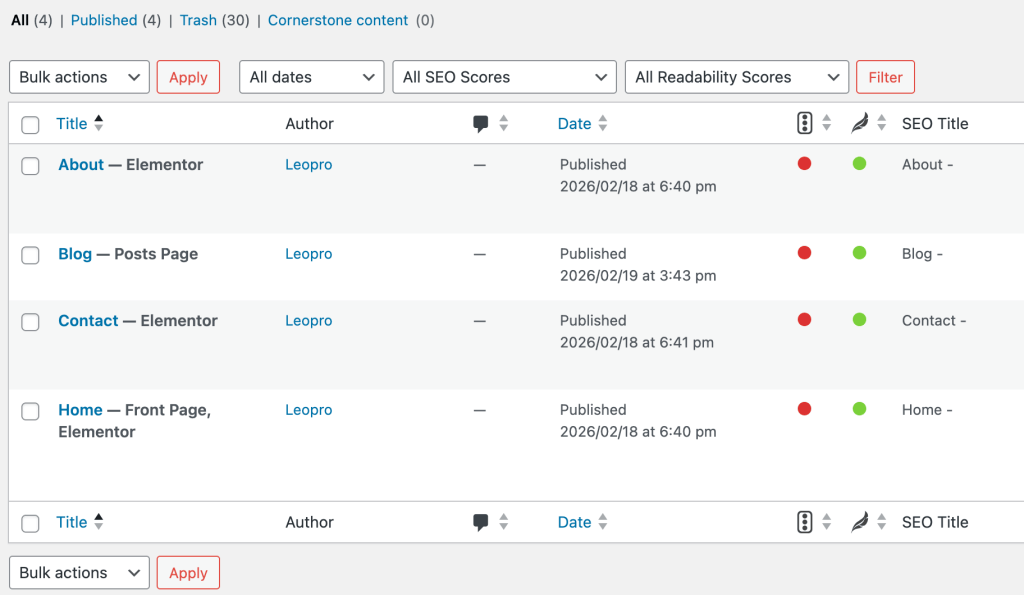
ALL Pages:
Pages are used for important, permanent sections of your website. Common pages include Home, About, Contact, Blog, Privacy Policy, and Services/Products. They help organize your site and give visitors essential information clearly.
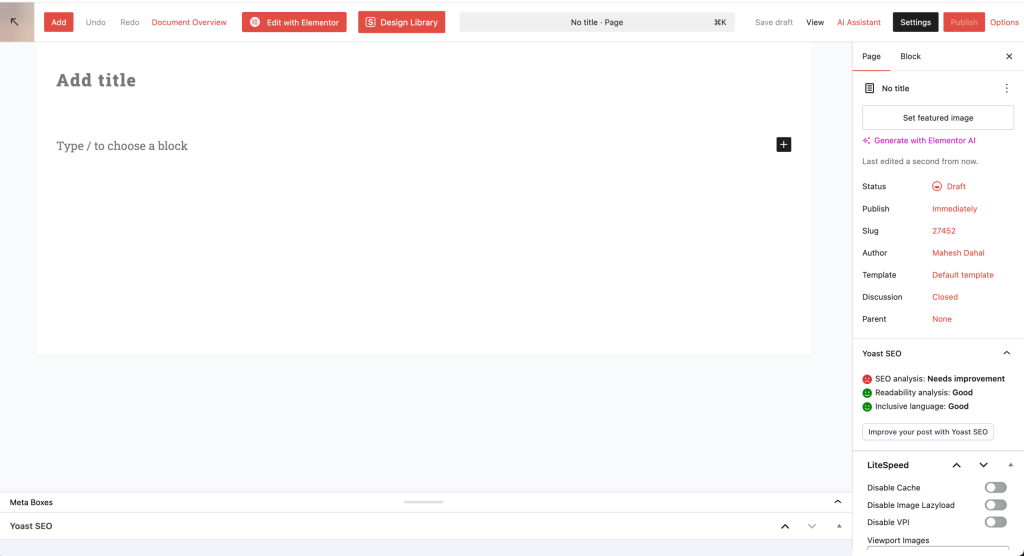
Add pages:
The Add Page feature in WordPress lets you create new pages for your website, like Home, About, Contact, or Services. Simply go to Pages → Add New, enter your content, and publish. Pages help organize your site and provide important information to visitors.
3. Media
The Media Library stores all your images, videos, PDFs, and other files uploaded to your website. It usually have three options for 2026 wordPress.
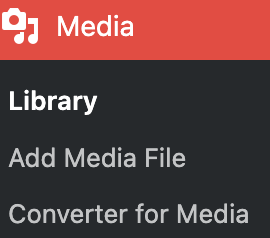
I.WordPress Media Library
The WordPress Media Library is a central place where you can store and manage all your website’s media files, including images, videos, and audio. Beginners can easily see all uploaded files, organize them with titles or descriptions, and insert them into pages or posts. The library helps you keep your website neat and makes it easier to reuse media across multiple posts.
II. Add Media File
The Add Media File feature in WordPress lets you upload new images, videos, or audio directly to your website. You can do this from the Add Media button in posts, pages, or the Media Library. After uploading, you can give the file a title, description, and alt text so it’s easier to find and improves SEO. This is the easiest way for beginners to get media onto their website.
III. Media Converter
A Media Converter in WordPress is a tool that helps you change file formats or compress media for better performance. For example, you can convert a PNG image to JPG or a large MP4 video to a smaller WebM file. This makes your website faster, mobile-friendly, and easier to manage, which is especially helpful for beginners who want to optimize their site.
4. Appearance
Appearance is the section in the WordPress dashboard where you can control how your website looks. It lets you choose and customize themes, menus, widgets, and backgrounds to make your site visually appealing and match your style.
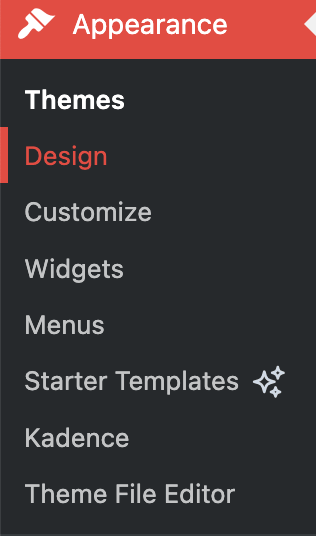
Theme
A WordPress theme controls the overall look and design of our website. Themes help us choose colors, fonts, layouts, and styles. Whether we are beginners or experienced users, we can select from free or premium themes to create a professional-looking website without any coding.

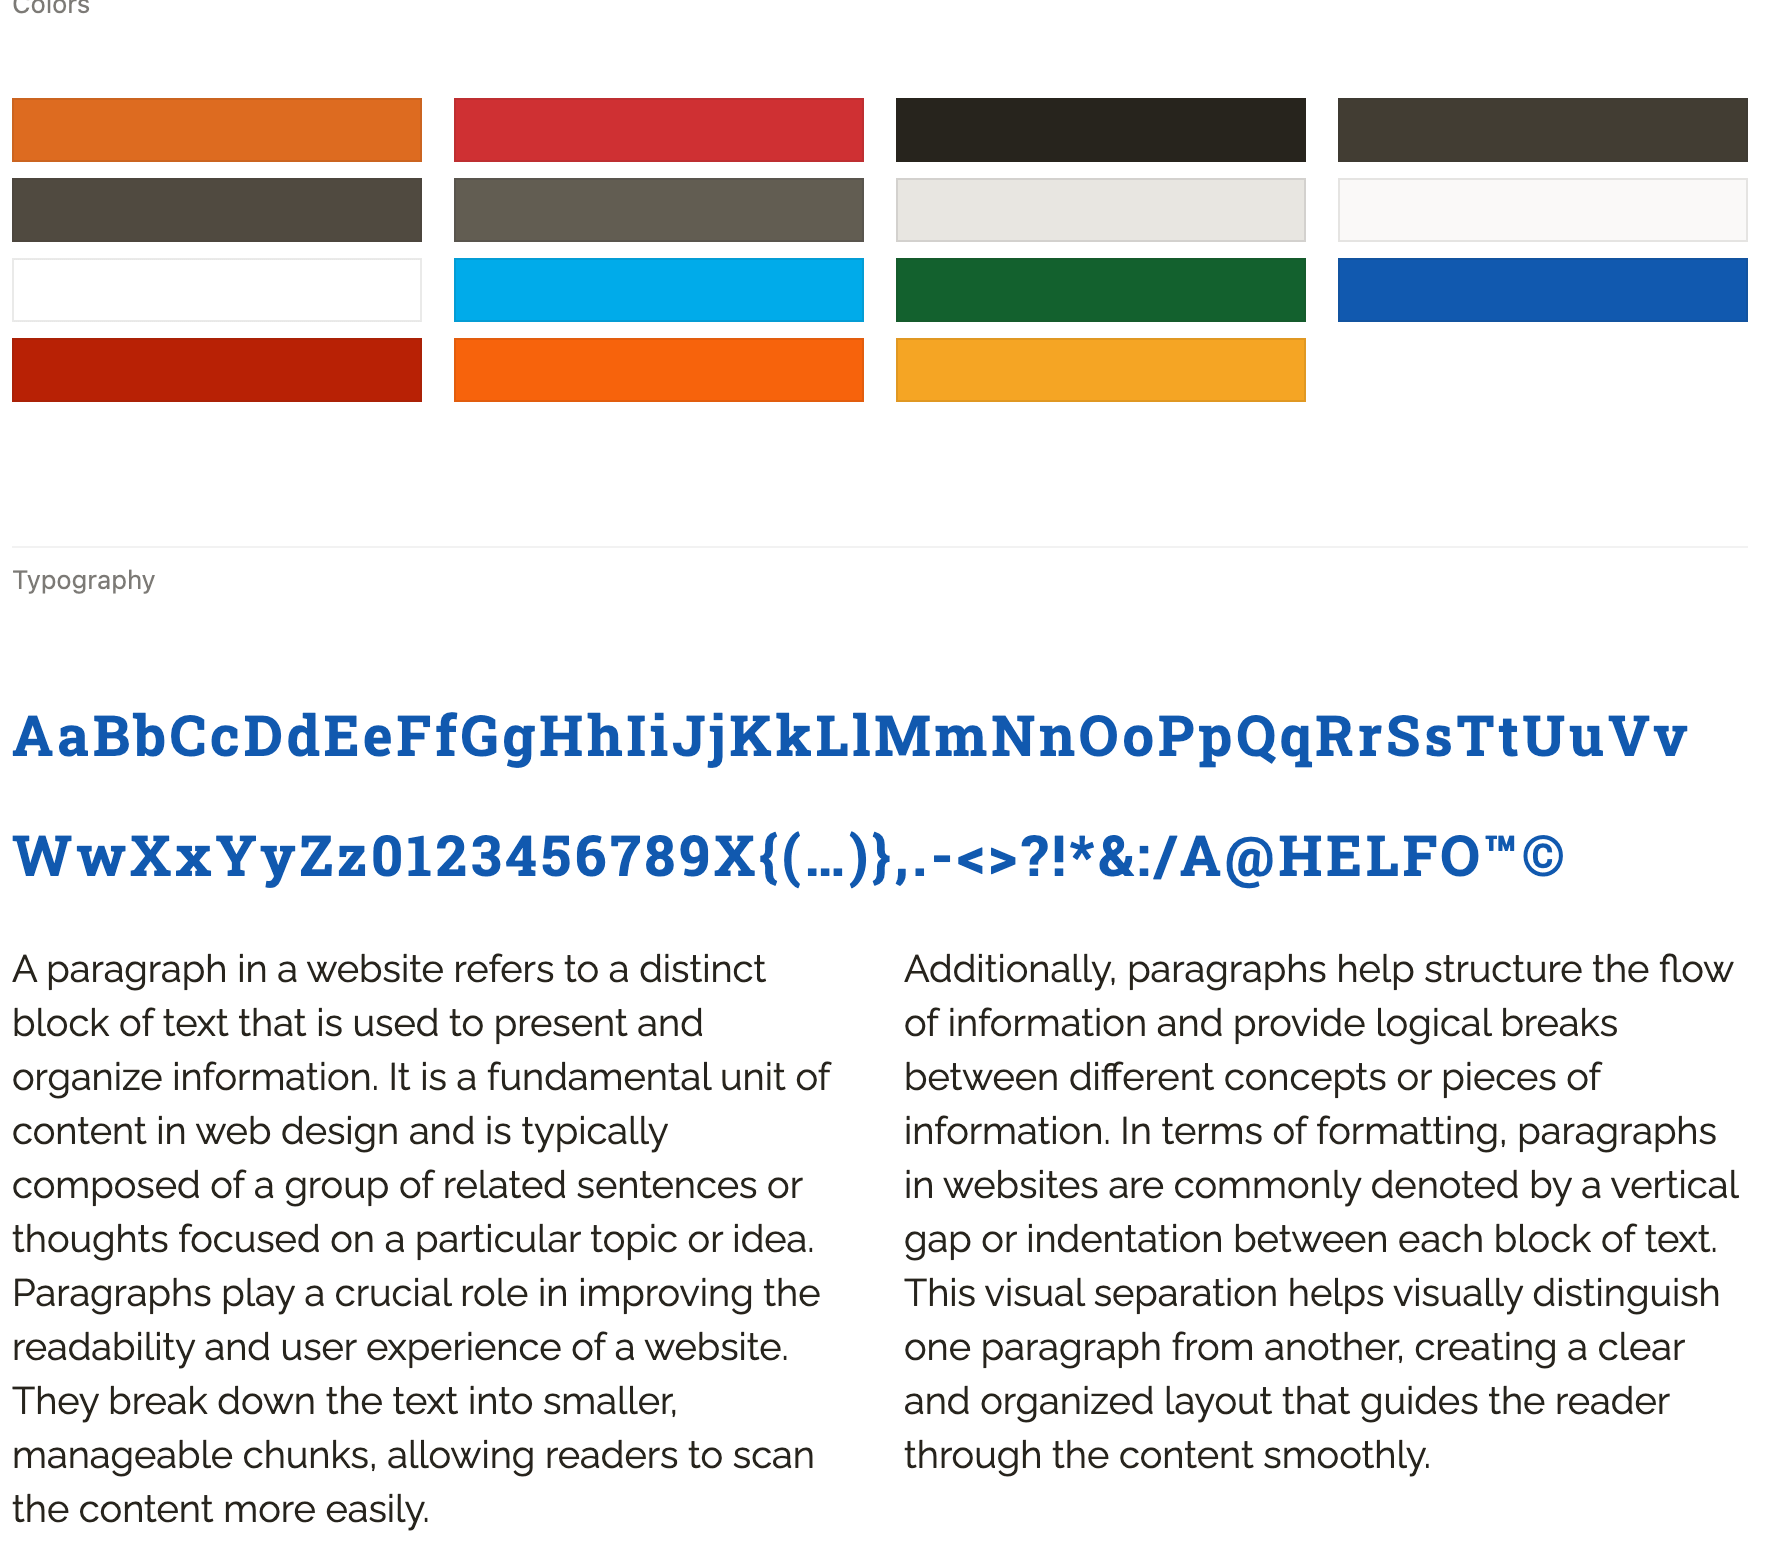
Design
Design in WordPress refers to how our website looks and feels. It includes the colors, fonts, page layouts, and styles we choose. A good design helps us create a website that feels welcoming, easy to read, and enjoyable for everyone to use.
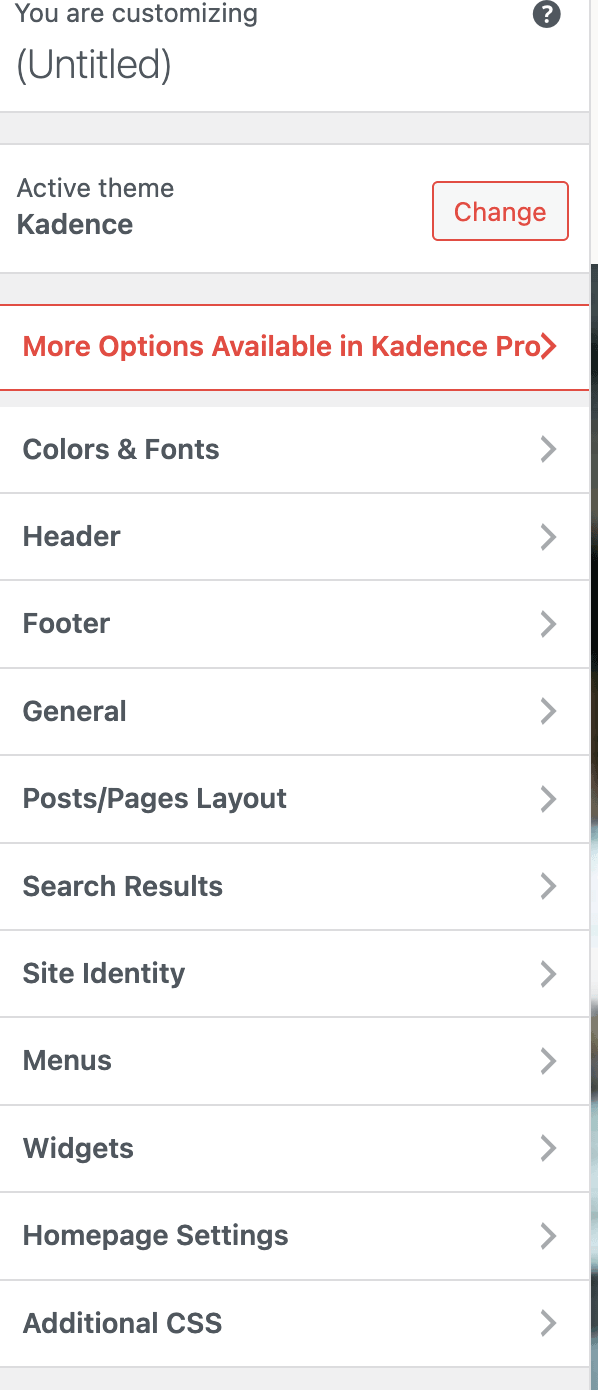
Customize
The Customize option lets us change our theme settings in real time. We can update colors, fonts, logos, headers, backgrounds, and layouts, and see the changes instantly before publishing. This makes it easy for all of us—especially beginners—to personalize our website with confidence.
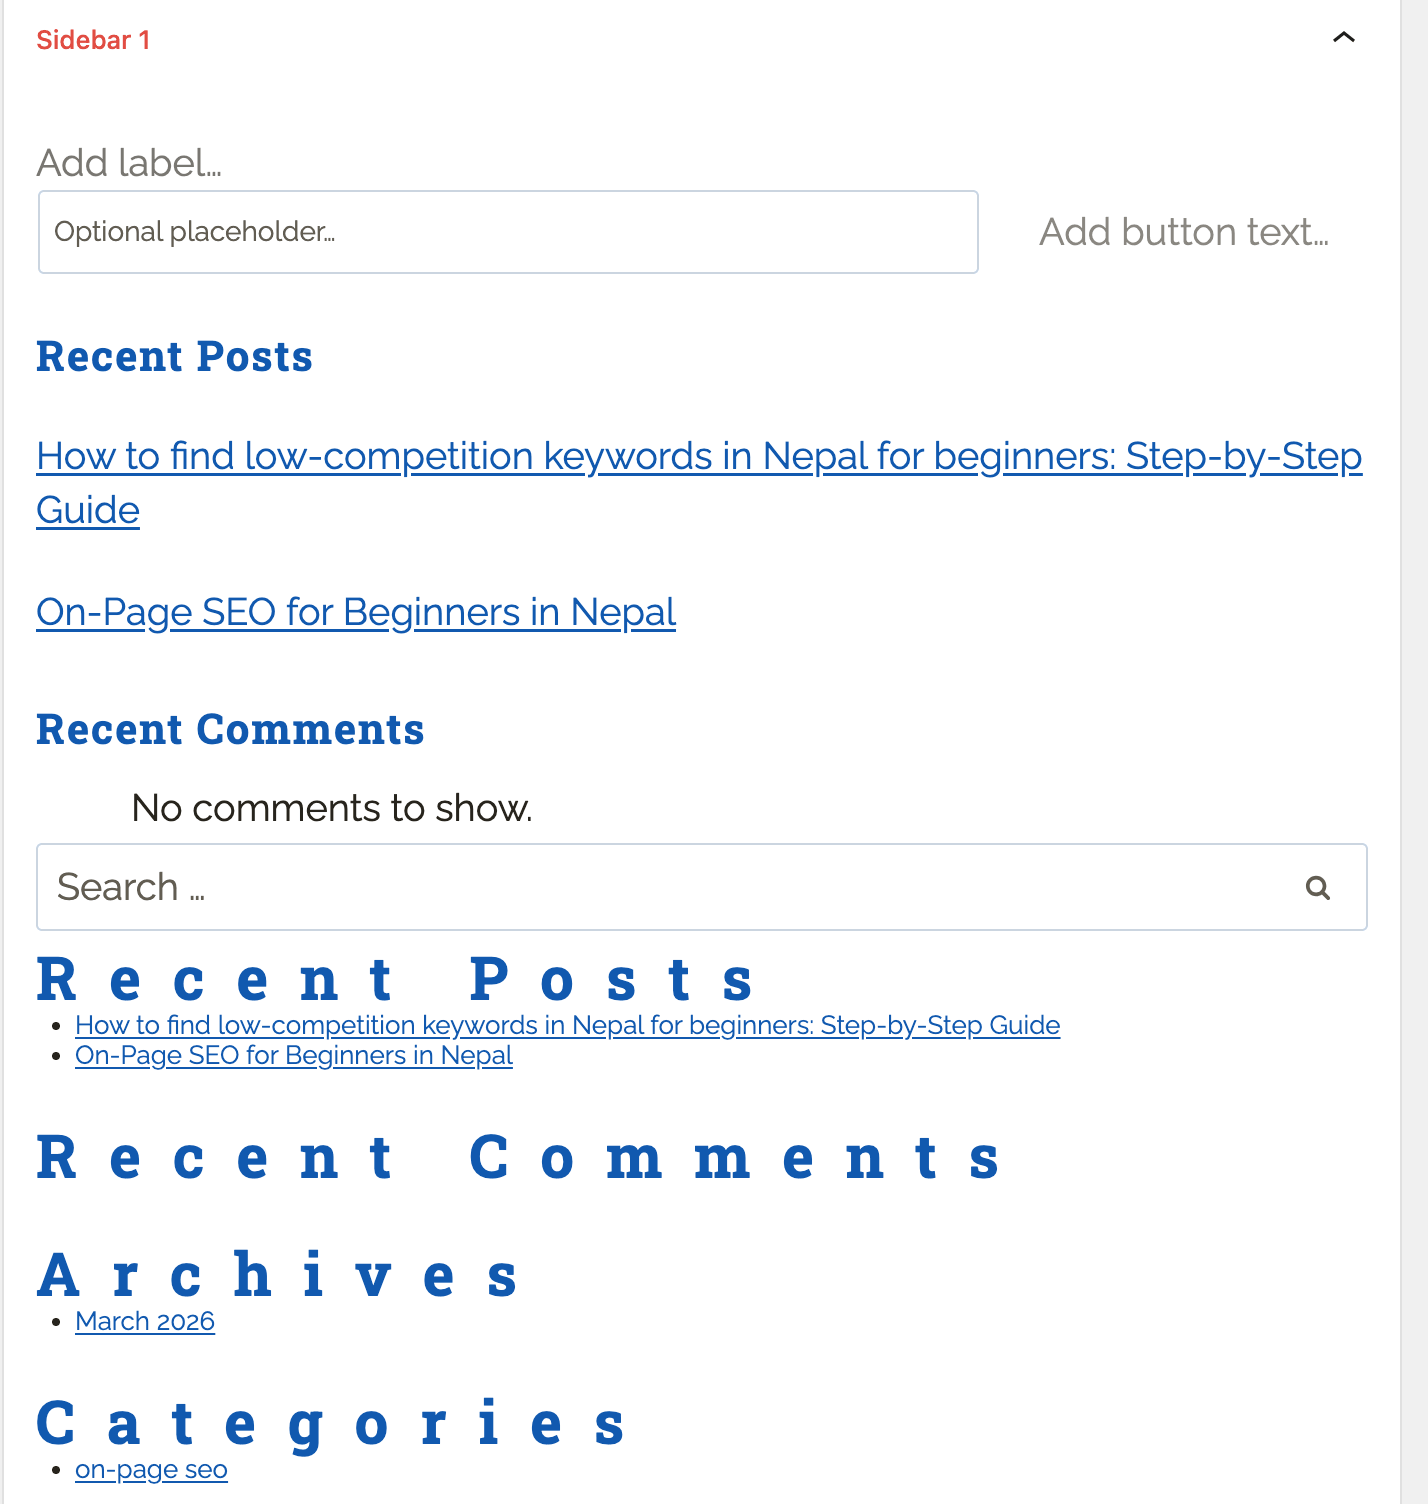
Widgets
Widgets are small blocks that help us add extra features to our website. We can place them in the sidebar, footer, or header to improve functionality. Common examples include search bars, recent posts, social media links, and calendars. Widgets help us create a website that feels more interactive and easier for everyone to navigate.
Menus
Menus help us organize our website’s navigation so everyone can easily find what they’re looking for. They allow visitors to move smoothly between pages, categories, and sections. We can create menus in WordPress to add important links like Home, About, Blog, Contact, and more, making our website simple and easy to explore.
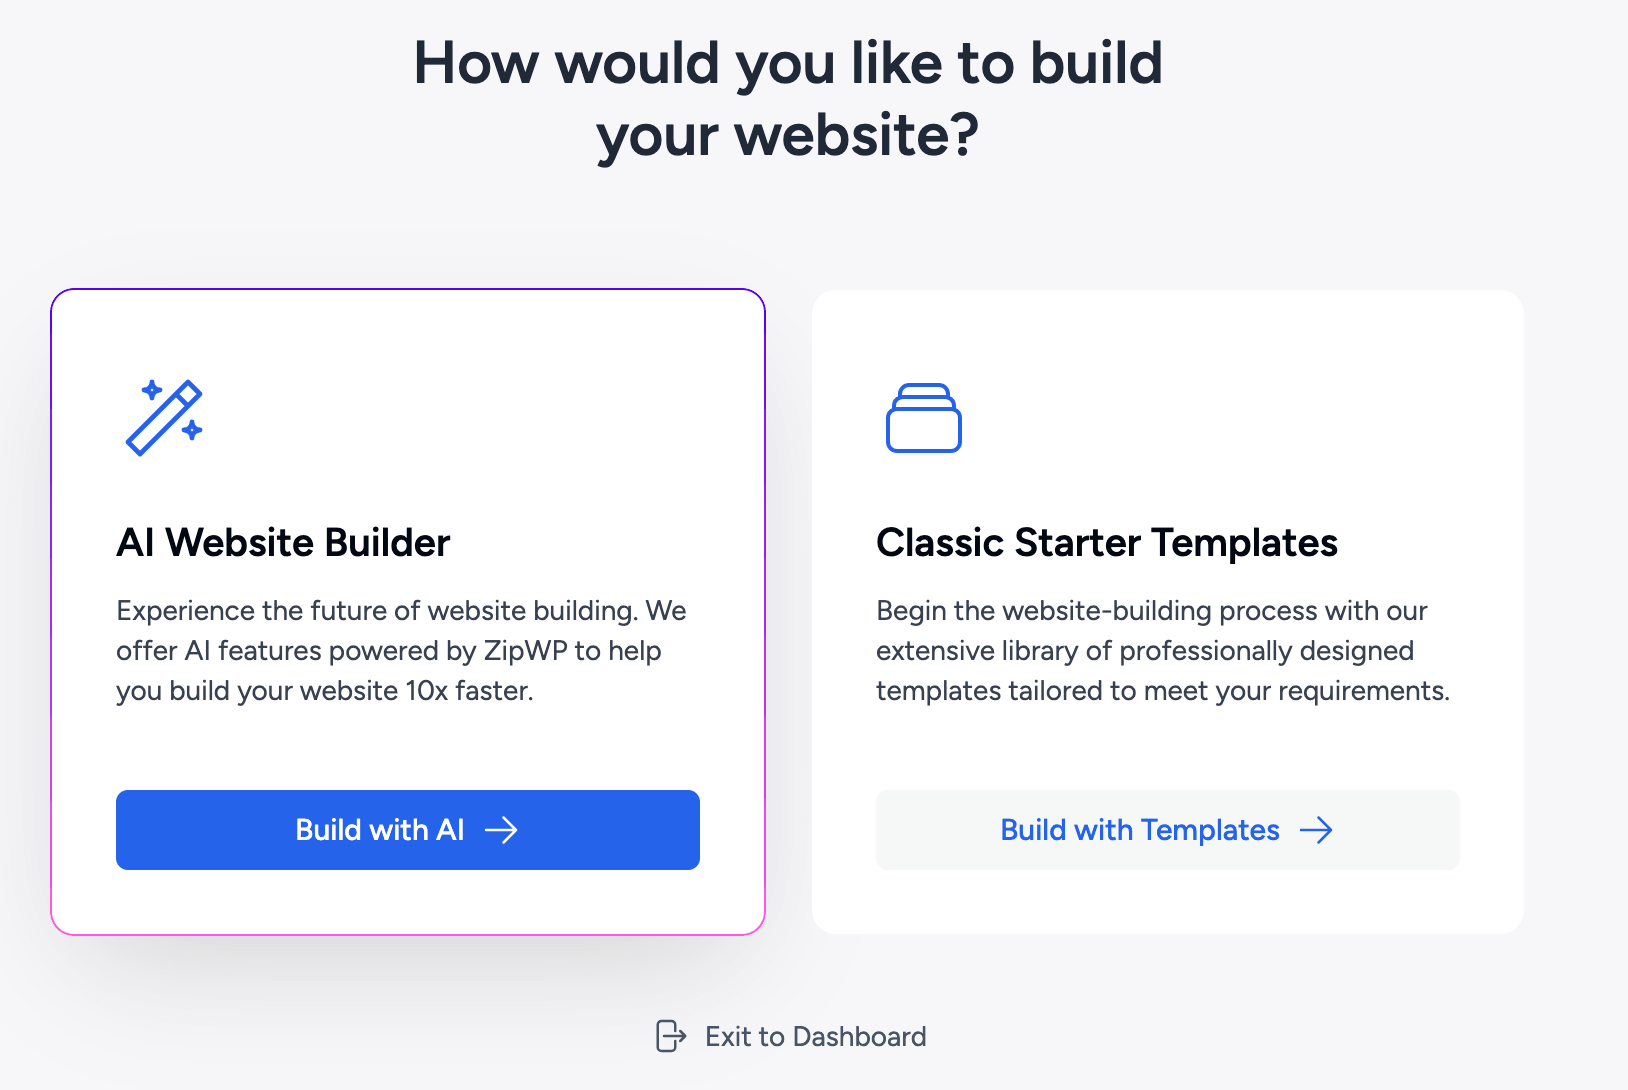
Starter Template
A Starter Template is a pre-built website layout that helps us quickly get our site up and running. It comes with ready-made pages, design, and demo content that we can easily customize. By using starter templates, we can save time and create a website that fits our needs and reflects our brand.
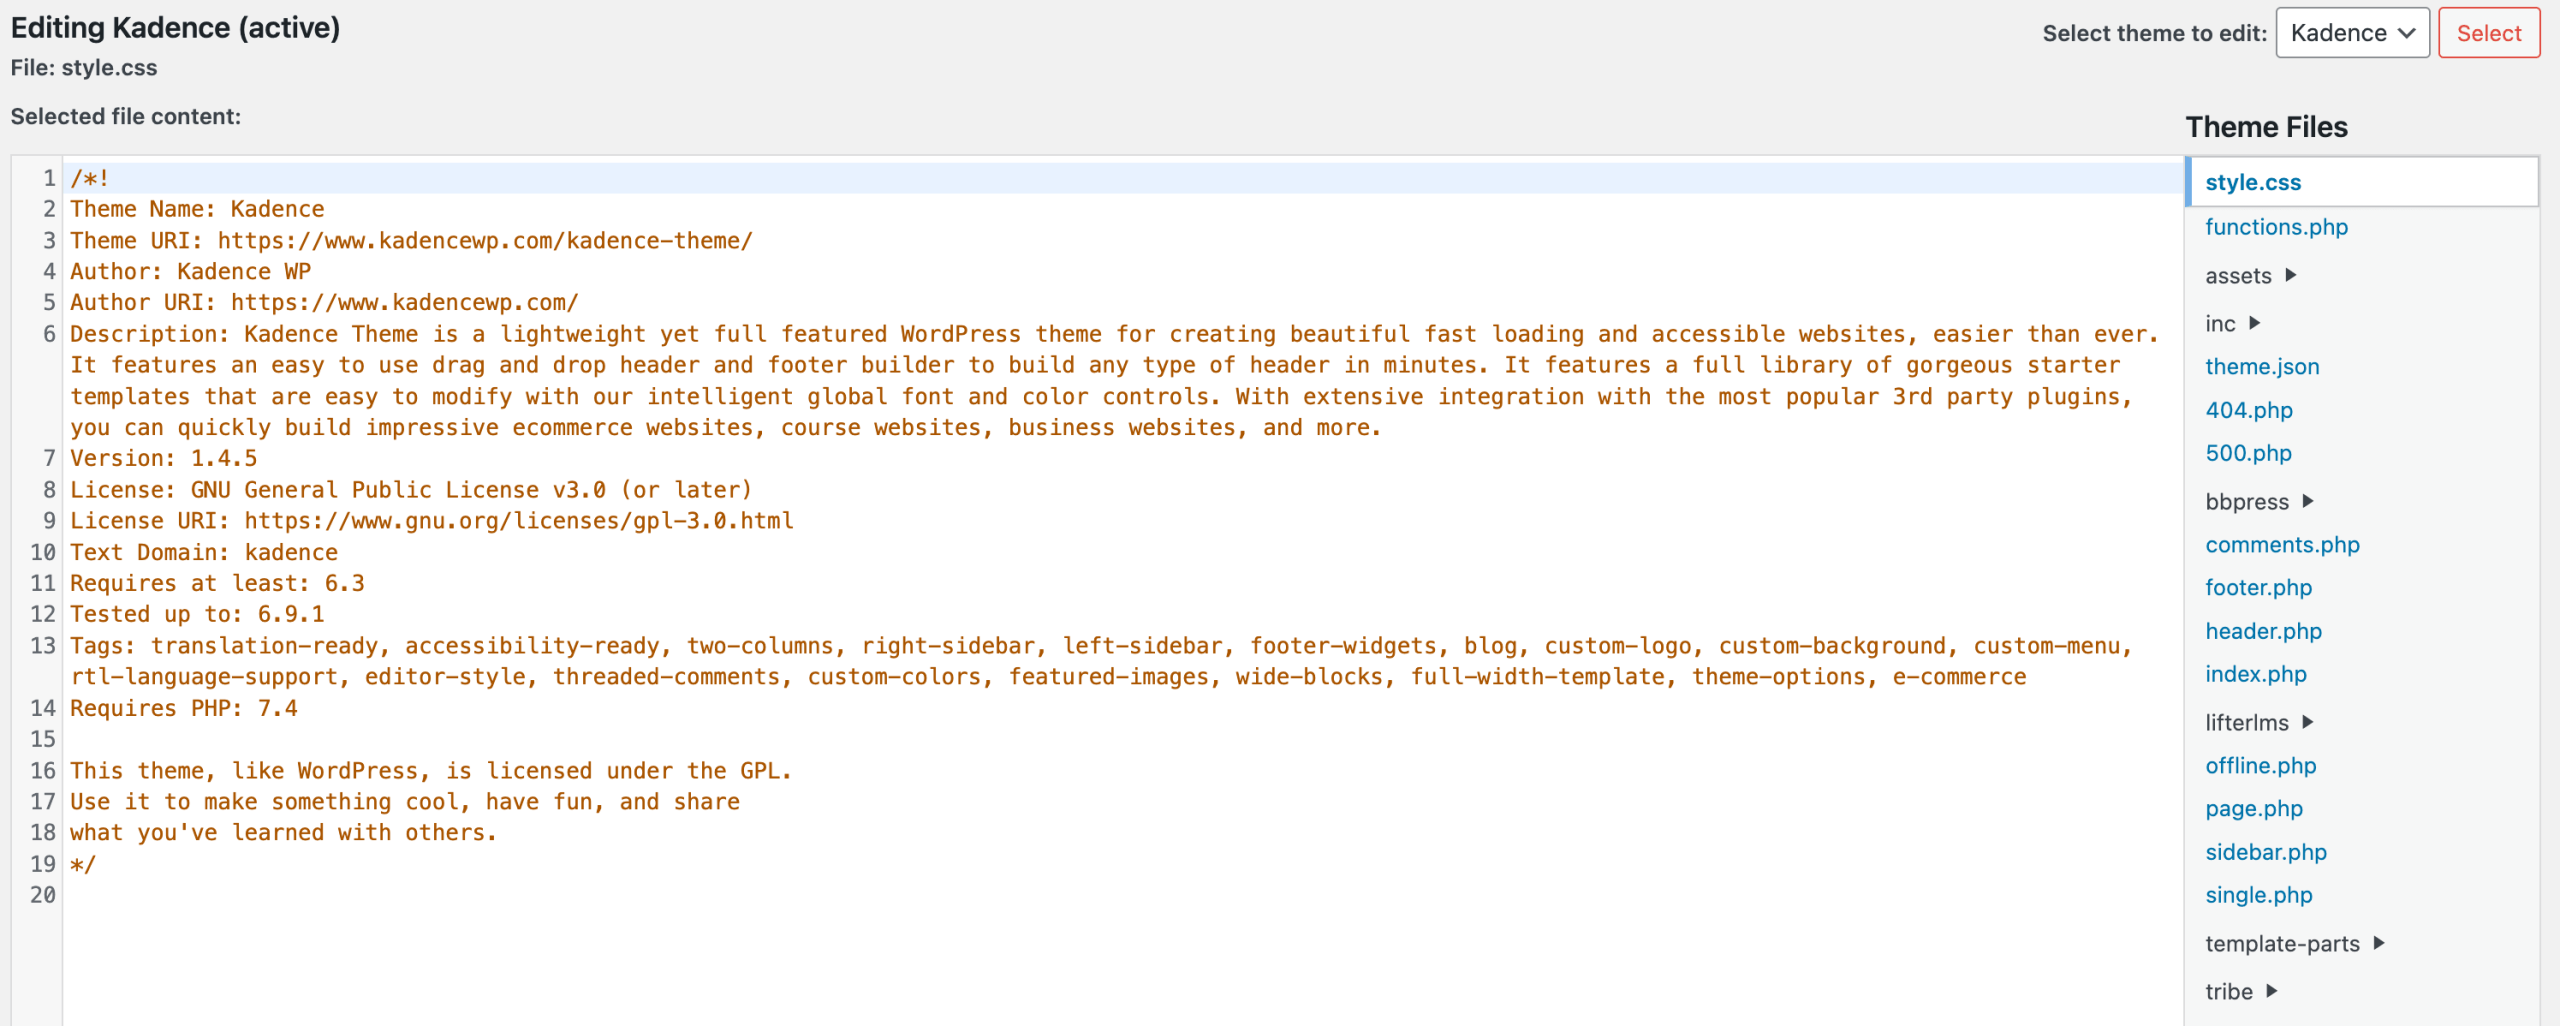
Theme File Editor
The Theme File Editor lets you edit your theme’s code directly (HTML, CSS, PHP). Beginners should use this carefully, as mistakes can break the website. It’s mainly used for advanced customization when themes or plugins don’t provide certain features.
5. Plugins
A plugin is a tool or add-on that adds extra features and functionality to your WordPress website without coding. For example, plugins can help you create contact forms, improve SEO, speed up your site, add security, or create online stores.
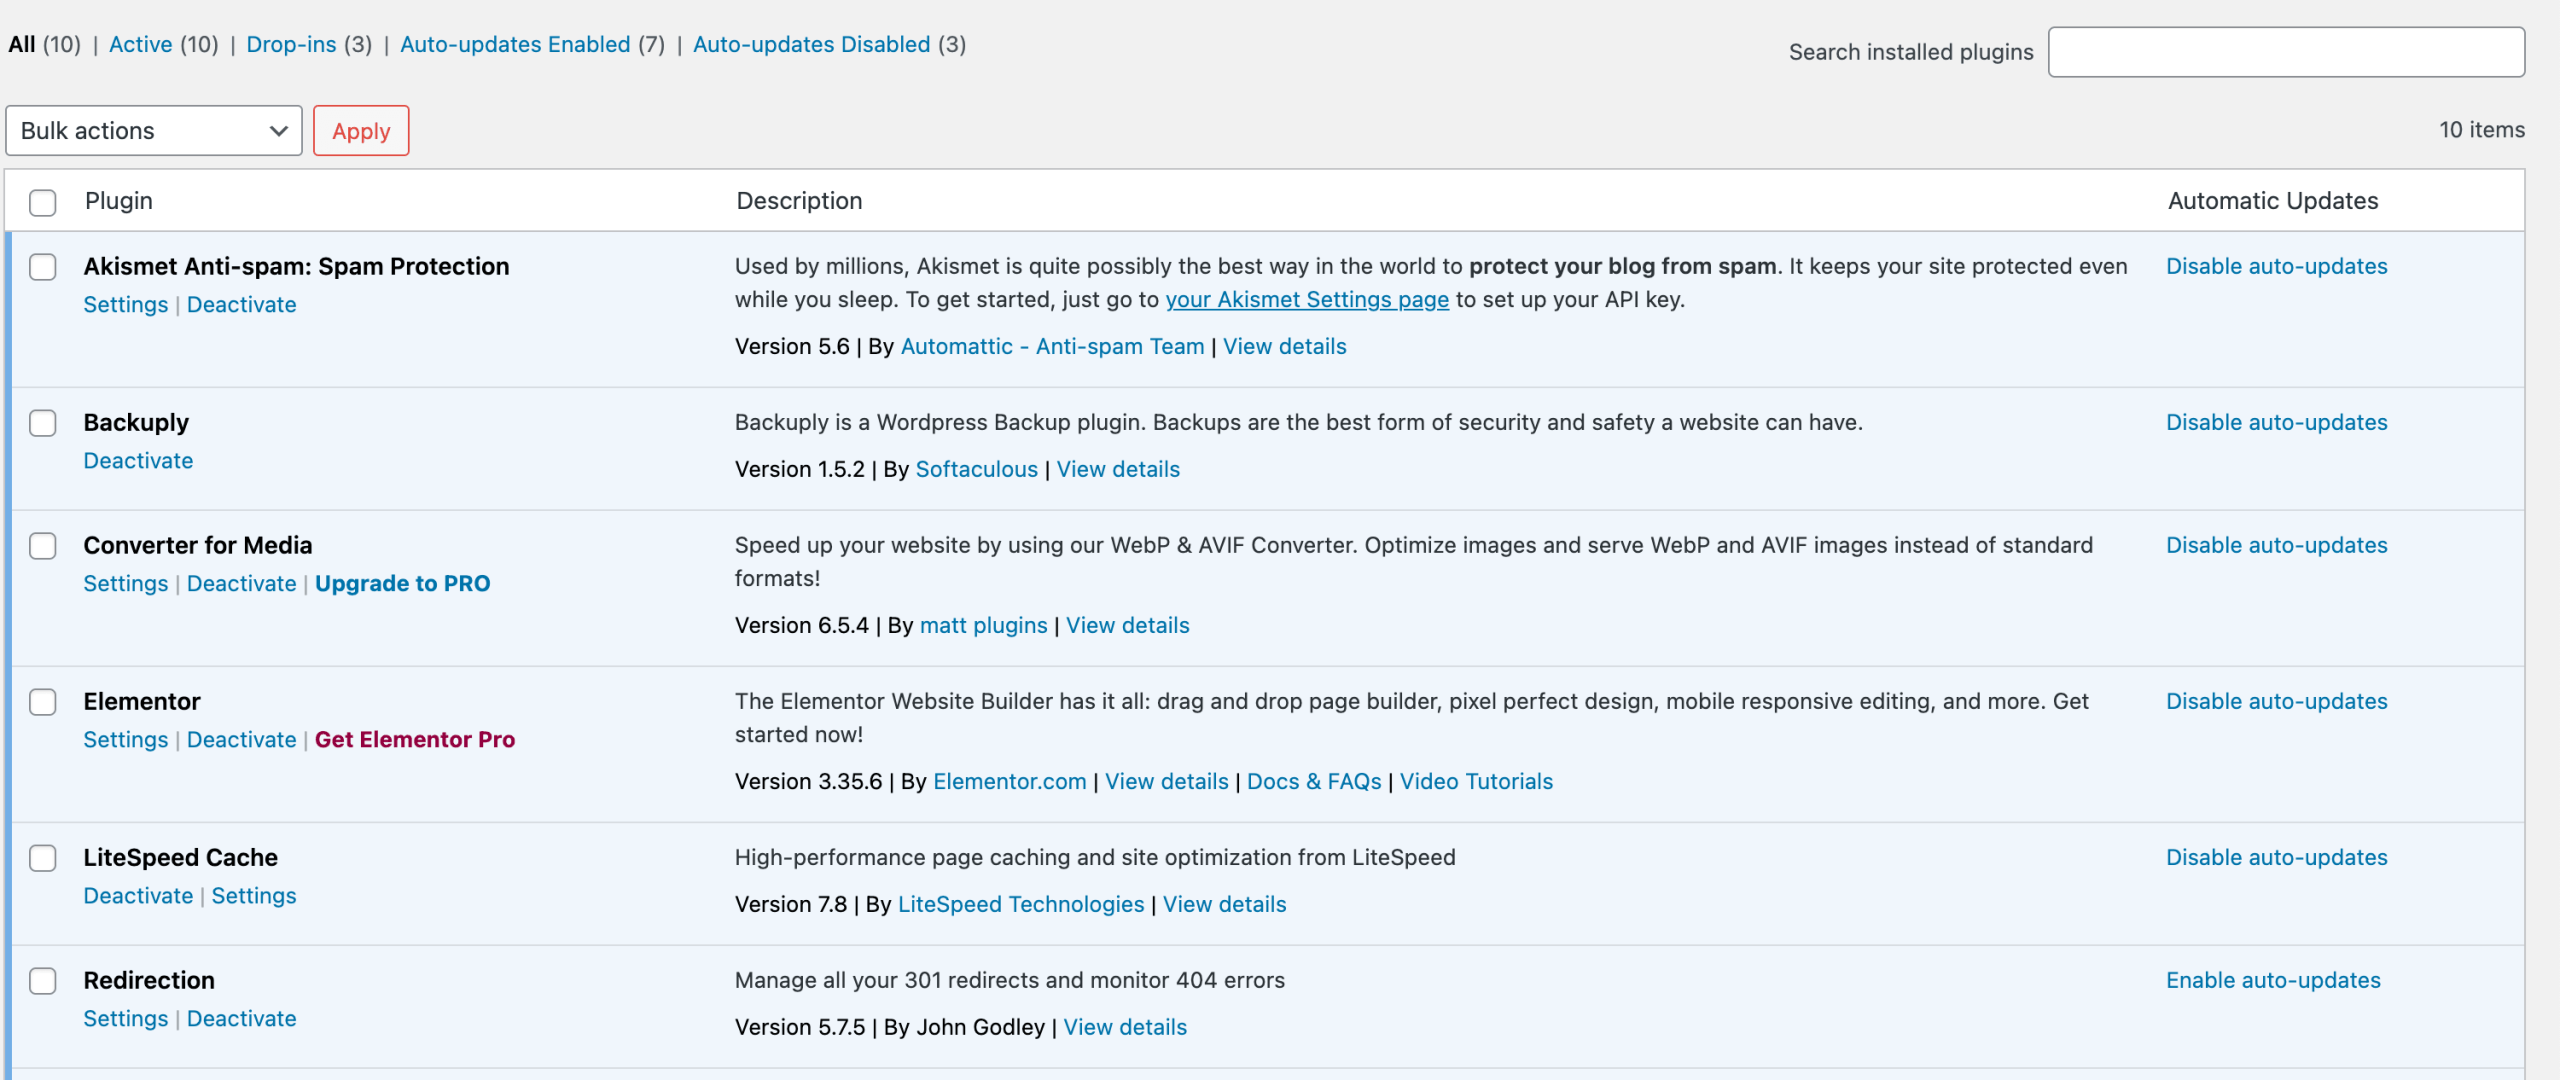
Installed Plugins
The Installed Plugins section in WordPress shows all the plugins you have already installed on your website. Beginners can activate, deactivate, or delete plugins from here. It helps you manage the tools that add extra functionality to your site, such as contact forms, SEO, or security features.
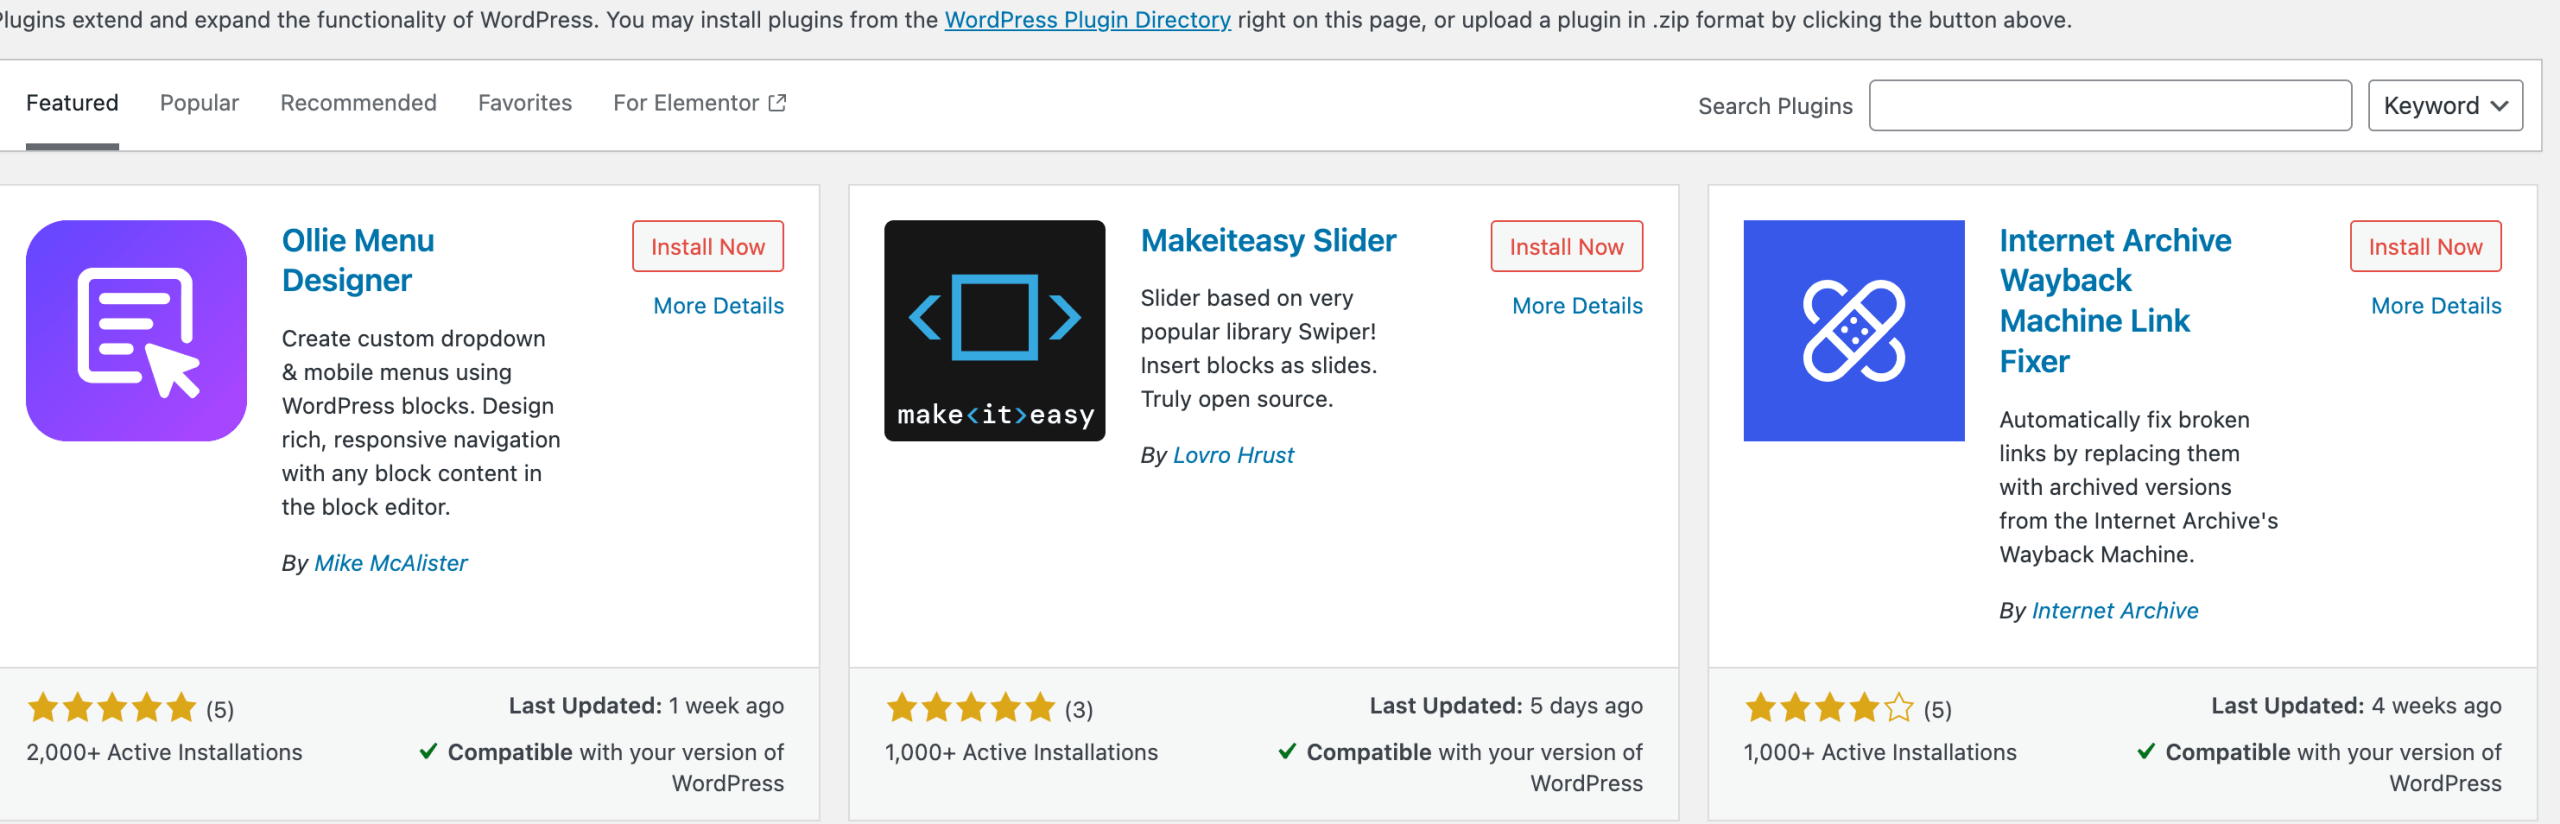
Add Plugin
The Add Plugin feature lets you install new plugins directly from the WordPress dashboard. You can search for free or premium plugins, then install and activate them to extend your website’s functionality. This is the easiest way for beginners to add features without coding.
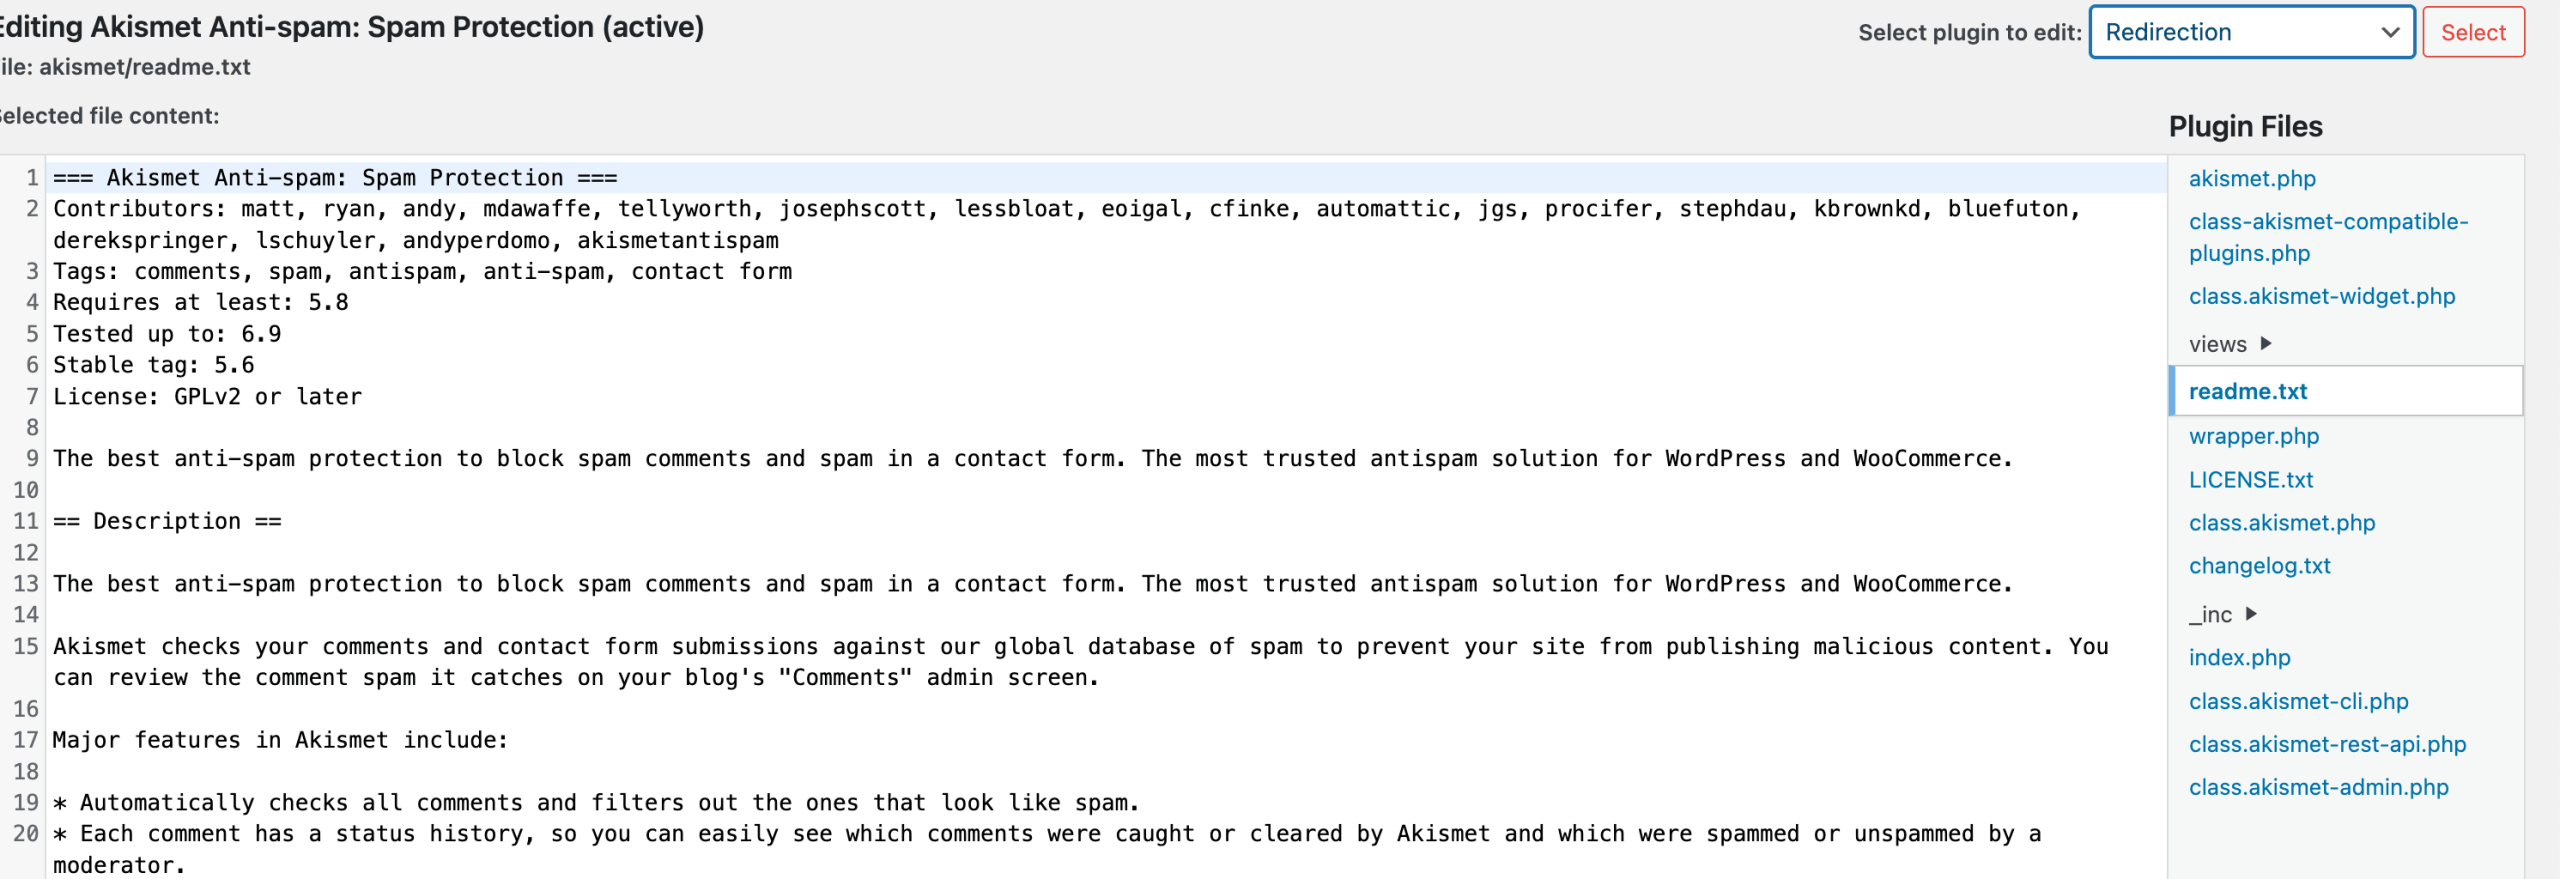
Plugin File Editor
The Plugin File Editor allows you to edit a plugin’s code (PHP, CSS, or JavaScript) directly from the dashboard. Beginners should be careful here, because wrong edits can break the site. It’s mainly used for advanced customization when a plugin doesn’t offer settings through the dashboard.
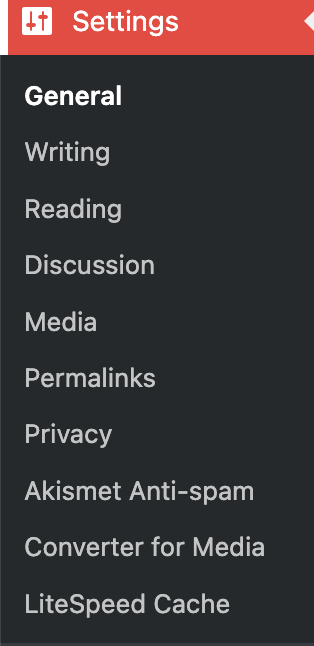
6. Settings
WordPress Settings are the options used to configure and control the basic functionality and behavior of a WordPress website.
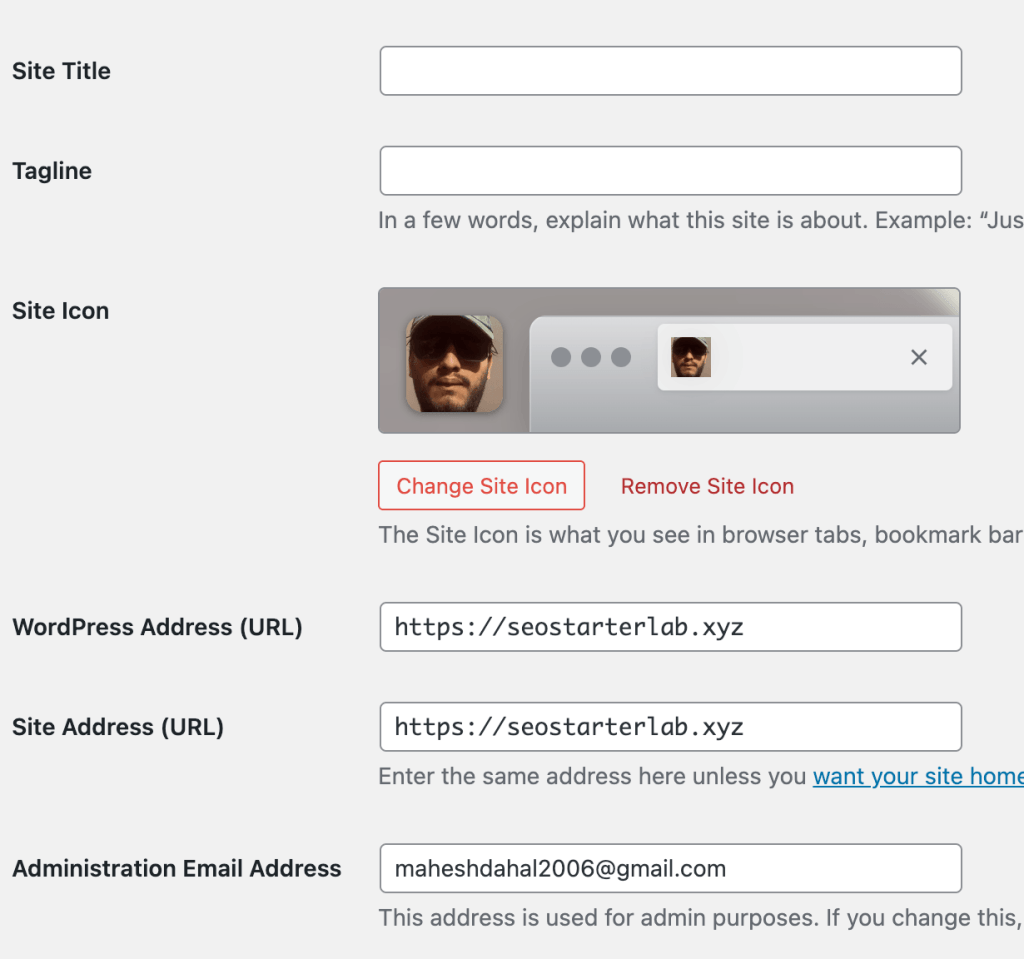
General:
WordPress General Settings are the basic options that control your website’s identity and main behavior.
You set your site title, tagline, and URLs, choose your timezone and date format, manage admin email, and decide if visitors can register accounts.
In short, it’s where you configure the core info and basic rules of your WordPress site.
Writing:
The Writing Settings in WordPress control how you create and publish content on your website.
Key options include:
- Default Post Category: Choose which category new posts belong to if you don’t select one.
- Default Post Format: Set the default format for posts (like Standard, Gallery, or Video) if your theme supports it.
- Post via Email (optional): You can publish posts by sending an email to your site (rarely used today).
- Update Services: Notify other services when you publish a new post so your content gets discovered faster.

Tips: Most bloggers mainly use the default category and post format here. The email and update services are optional.
Readings:
The Reading Settings in WordPress control how your website content is displayed to visitors.
Key options include:
- Your Homepage Displays:
- Choose whether your homepage shows your latest posts (blog style) or a static page (custom homepage).
- Blog Pages Show at Most: Decide how many posts appear per page on your blog.
- Syndication Feeds Show the Most Recent: Control how many posts are included in RSS feeds.
- For Each Article in a Feed, Show: Choose to show the full text or a summary in RSS feeds.
- Search Engine Visibility: You can discourage search engines from indexing your site (useful for private or under-construction sites).
Discussion:
A discussion is a way of talking or writing about a topic where people share ideas, opinions, and information. It helps us understand different points of view and come to better conclusions. Discussions can happen in classrooms, meetings, online forums, or even in everyday conversations.
Discussion Settings
The Discussion Settings control how visitors interact with your website through comments and notifications.
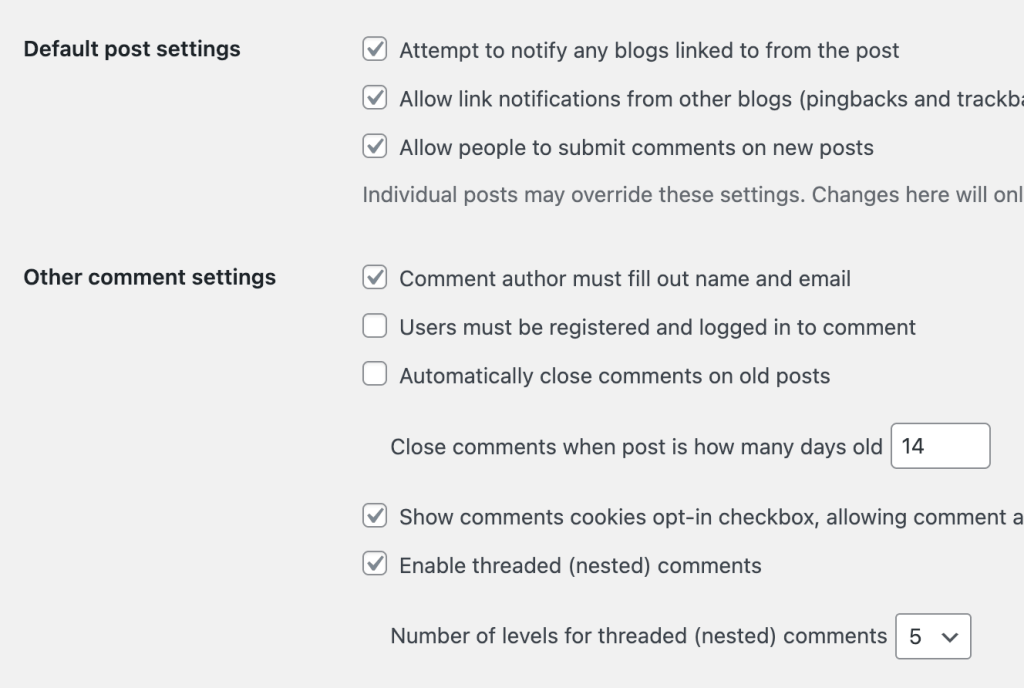
Key options include:
- Default Article Settings:
- Allow people to post comments on new articles.
- Allow link notifications (pingbacks and trackbacks) from other blogs.
- Other Comment Settings:
- Require users to fill in name and email before commenting.
- Automatically close comments on posts older than a certain number of days.
- Enable threaded (nested) comments for replies.
- Email Me Whenever:
- Get notifications when someone posts a comment or a comment is held for moderation.
- Before a Comment Appears:
- Decide if comments need approval before appearing on your site.
- Comment Moderation & Blocklist:
- Filter comments containing specific words, links, or emails to reduce spam.
7. Installing a WordPress Theme
A WordPress theme determines how your website looks and feels. It controls the design, colors, fonts, layout, headers, footers, and menus. Think of it like the clothes for your website — WordPress provides the engine, while the theme provides the style.
Why Theme Matters
Choosing the right theme improves user experience, website performance, and mobile usability, which is important for visitors in Nepal and globally.
Popular Beginner-Friendly Themes:
- Free: Astra, Twenty Twenty-Three
- Lightweight and versatile: OceanWP, Kadence (support Nepali fonts and languages)
Installing a Free Theme
- Go to your WordPress dashboard and open Appearance → Themes → Add New.
- Search for themes using keywords like “blog,” “portfolio,” or “business.”
- Choose a theme that is responsive, lightweight, and updated regularly.
- Click Install, then Activate.
Your site will now use the new theme.
Tip: Start with fast, mobile-friendly themes for better user experience and SEO.
Customizing Your Theme
- Open Appearance → Customize to see live previews.
- Change basic elements:
- Site Identity: Add your site title, tagline, and logo.
- Colors & Fonts: Choose your brand colors and typography.
- Header & Footer: Adjust menus, logos, and widgets.
- Menus: Create navigation menus for your pages.
- Add widgets like sidebars, footers, or social icons. Some themes also include sliders or featured post sections.
- Preview your changes on desktop and mobile, then click Publish.
Beginner Tip: Focus on logo, colors, and menus first. Explore advanced customization gradually.
Extra Tips:
- Choose lightweight themes for faster load times, especially for slower internet connections in Nepal.
- Ensure themes are responsive for mobile, tablets, and desktop.
- Use translation-ready themes if you plan to publish in Nepali.
8. Installing WordPress Plugins
Plugins are powerful tools that add new functionality to your website without coding. They can enhance your site with SEO, contact forms, backups, security, and speed optimization.
Essential Plugins for Beginners:
- Yoast SEO: Improves search engine visibility.
- WPForms: Drag-and-drop contact forms.
- UpdraftPlus: Automated backups.
- Elementor: Visual page builder.
- Akismet Anti-Spam: Protects against spam comments.
- LiteSpeed Cache / W3 Total Cache: Boosts site speed.
- Smush: Compresses images without quality loss.
- TranslatePress / Polylang: Multilingual support for Nepali and English content.
How to Install Plugins:
- Free plugins: Go to Dashboard → Plugins → Add New, search, then Install → Activate.
- Premium plugins: Download the
.zipfile, go to Plugins → Add New → Upload Plugin, choose the file, then Install → Activate.
Pro Tip: Only install necessary plugins to keep your website fast and efficient.
Yoast SEO is one of the most popular tools used by over 80% of SEO specialists. Learn how to use Yoast SEO in our complete guide.
9. Creating Pages in WordPress
Pages are for static content that doesn’t change frequently, like Home, About, Contact, and Blog. They help visitors navigate your site and are important for SEO.
Creating Pages
- Open Pages → Add New in your dashboard.
- Add a Title (e.g., Home, About, Contact, Blog).
- Add content using blocks: paragraphs, images, videos, buttons, or contact forms.
- Click Publish to make the page live.
Essential Pages:
- Home: Welcome visitors and feature key content.
- About: Share your story, mission, or services.
- Contact: Include a contact form, phone, email, or map.
- Blog: Automatically displays your latest posts.
Pro Tip: Use Nepali Unicode fonts and local images if your target audience is Nepali readers.
Additional Tips:
- Set a static homepage in Settings → Reading.
- Create menus in Appearance → Menus.
- Optional: Use page builders like Elementor for easy design.
10. Creating Blog Posts
Blog posts are dynamic content, perfect for sharing stories, news, tips, or updates.
How to Write a Post
- Go to Posts → Add New.
- Enter a title and content using WordPress blocks. Keep paragraphs short for readability.
- Add images using the Image block and include Alt Text for SEO. Example: “Mount Everest view from Nepal trekking route.”
- Assign categories and tags to organize your posts.
Pro Tip: Include at least one category, 2–3 tags, and images to make your posts engaging.
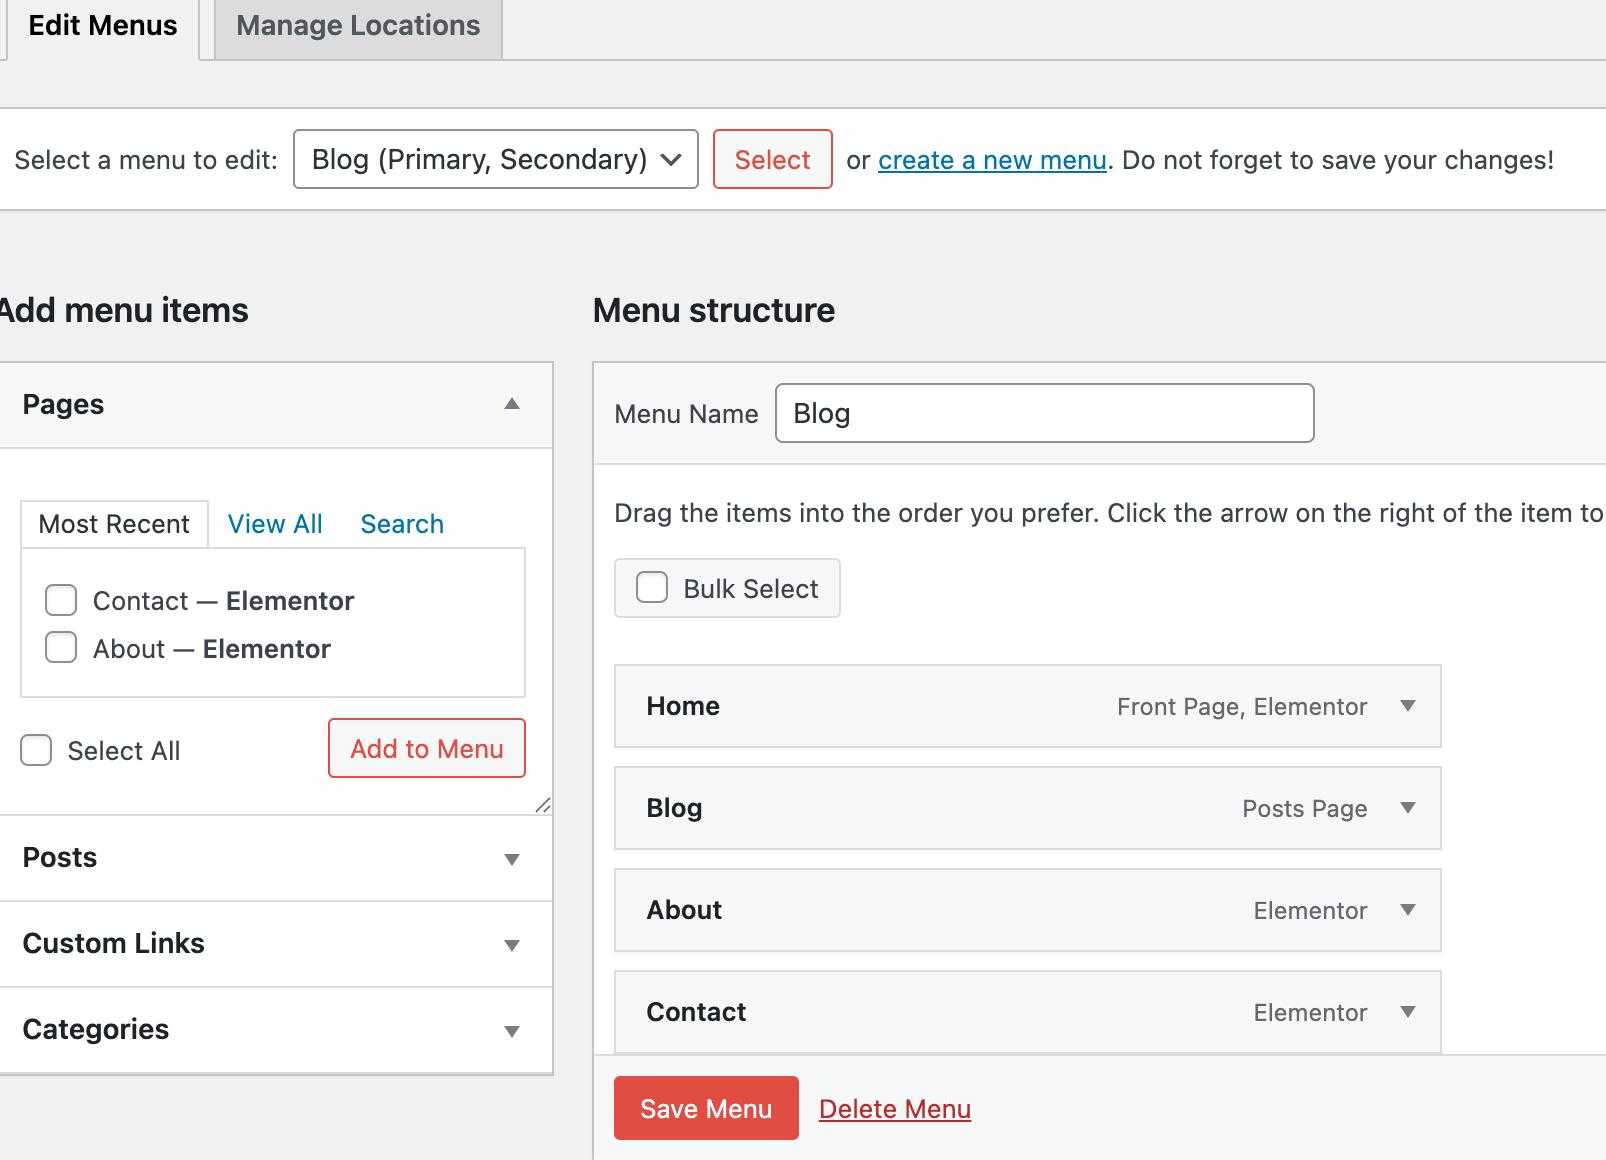
11. Creating a Navigation Menu
Navigation menus help visitors move around your site.
How to Create a Menu
- Open Appearance → Menus.
- Click Create New Menu and name it.
- Add pages, categories, or custom links.
- Arrange items using drag-and-drop.
- Set as Primary Menu and click Save.
Pro Tip: Keep menus simple with 4–5 main pages for beginners.
12. Basic WordPress SEO
SEO helps your website rank higher on search engines like Google.
Steps for Beginners:
- Install an SEO plugin like Yoast SEO or Rank Math.
- Write SEO-friendly titles and meta descriptions with main keywords.
- Keep meta descriptions under 160 characters.
Pro Tip: Short, descriptive titles and clear meta descriptions improve search results and clicks.
To get started with optimizing your WordPress site, check out our complete Yoast SEO guide for step-by-step instructions and tips for beginners.
13. Launching Your Website
Launching is exciting! Here’s how to make sure your site is ready:
Final Checks:
- Test all pages to ensure links work.
- Ensure images load properly and have alt text.
- Check SEO basics: titles, meta descriptions, categories.
- Preview on mobile and tablets.
- Proofread text for spelling and grammar.
Publishing:
- Click Publish for pages and posts.
- If using a static homepage, set it under Settings → Reading.
- Visit your site URL to see it live.
Friendly Advice: Don’t worry about perfection. WordPress lets you update and improve your site anytime. Celebrate your first website and share it with friends, family, or the world!
Pro Tip: Start simple, keep backups, and gradually enhance your website as you learn.